

Albato Data Storage: Store Data and Match Records Across Apps
IN THIS ARTICLE
Albato Data Storage keeps data between automation runs. Use it to match record IDs across apps, collect records for a batch transfer, or reuse saved values in other automations.
How the Storage Is Organized
Think of it as a table in Google Sheets. Each record is a row. Its key is a unique ID, equivalent to column A. The other columns are variables, such as a status, an update date, or an ID from another app. Use the key to find or update a saved record.
How to Connect Albato Data Storage
- Go to Apps and click Add a connection.

- Select Albato Data Storage and click Add a connection.
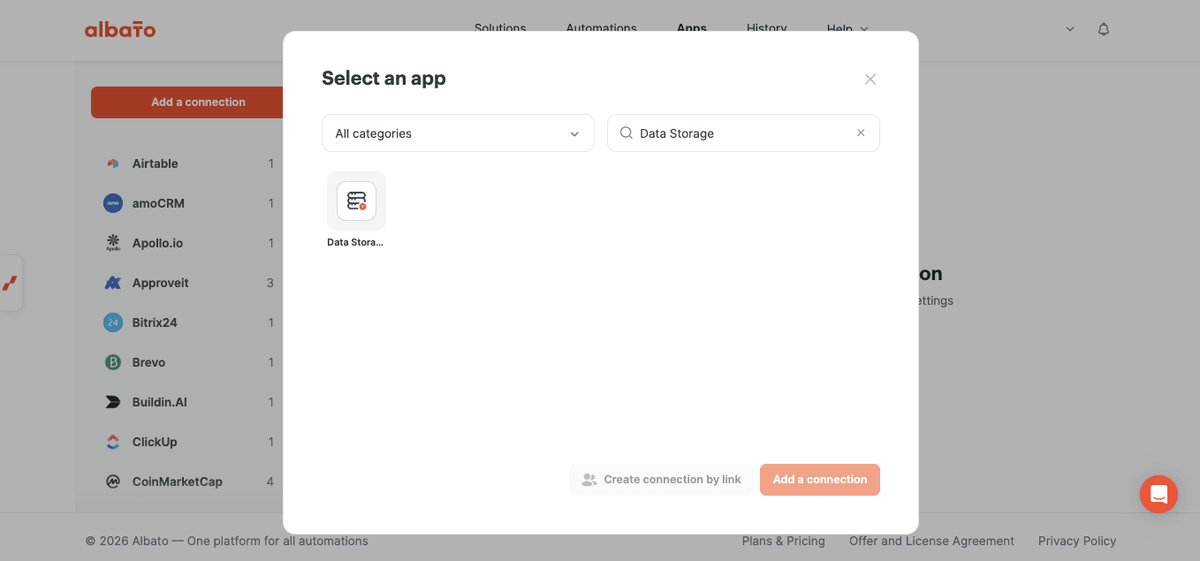
- Enter a name for the connection and define the variables it will store.
Type each variable name and press Enter to add another variable. You can create separate storage connections for different tasks.
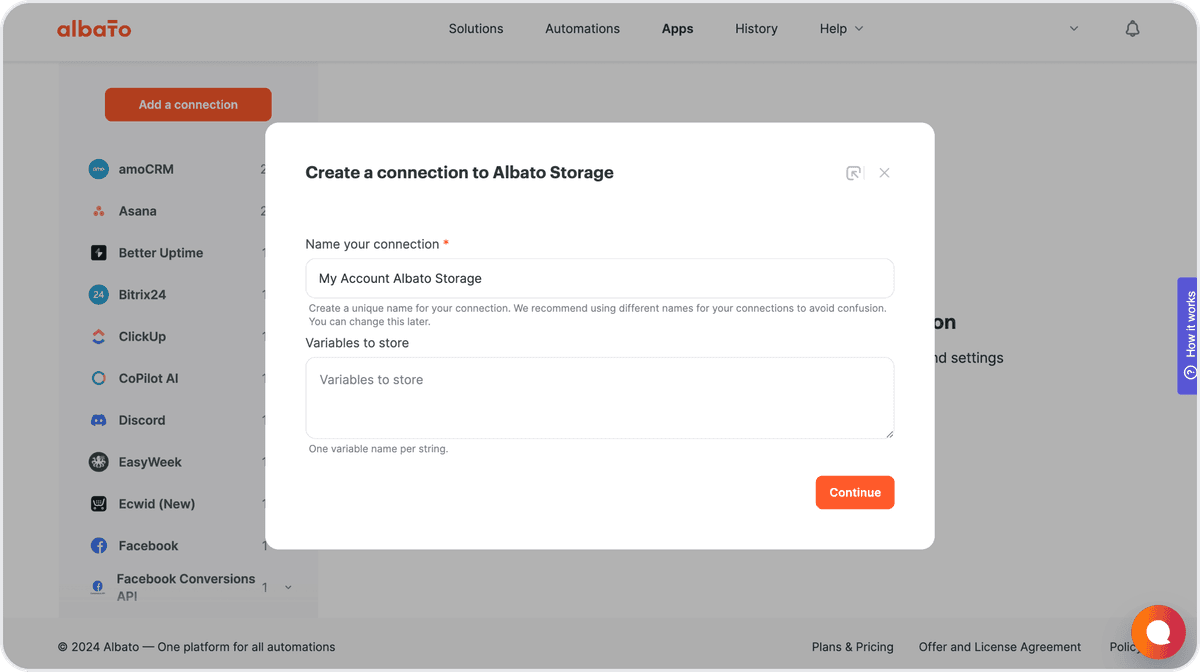
Available Actions
-
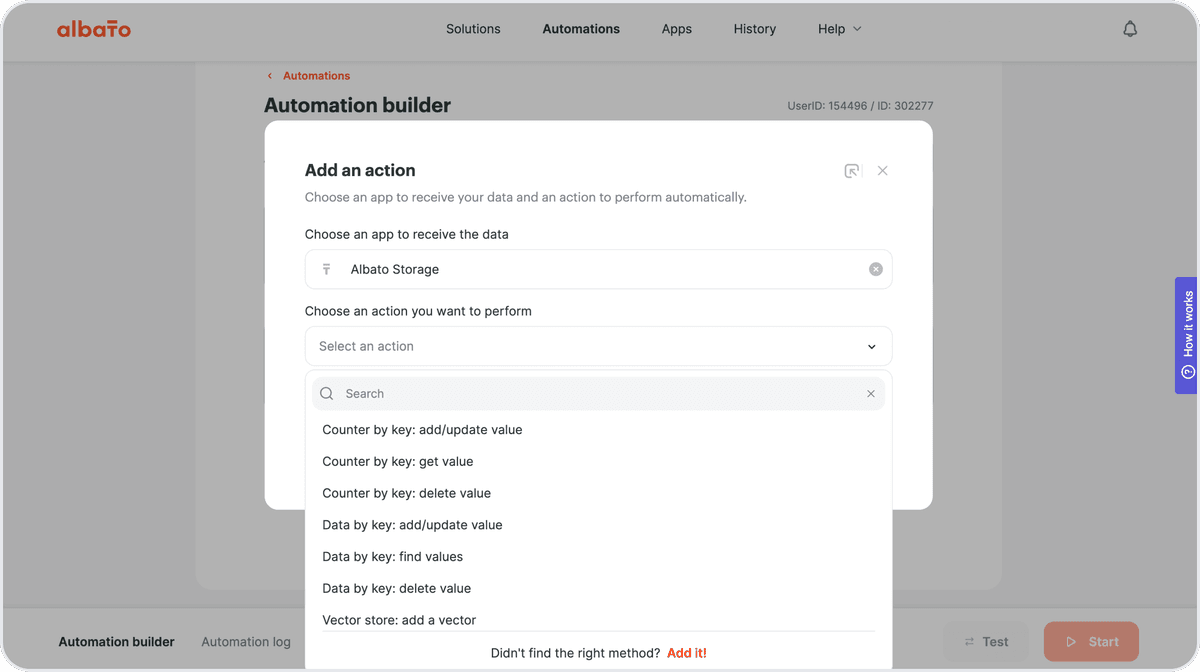
Data by key: delete value deletes a saved record. For a one-time transfer where the record is no longer needed afterward, add this action at the end of the automation.
-
Data by key: add/update value creates a record or updates an existing one. If the supplied key already exists, the action updates that record's other fields instead of creating a duplicate.
-
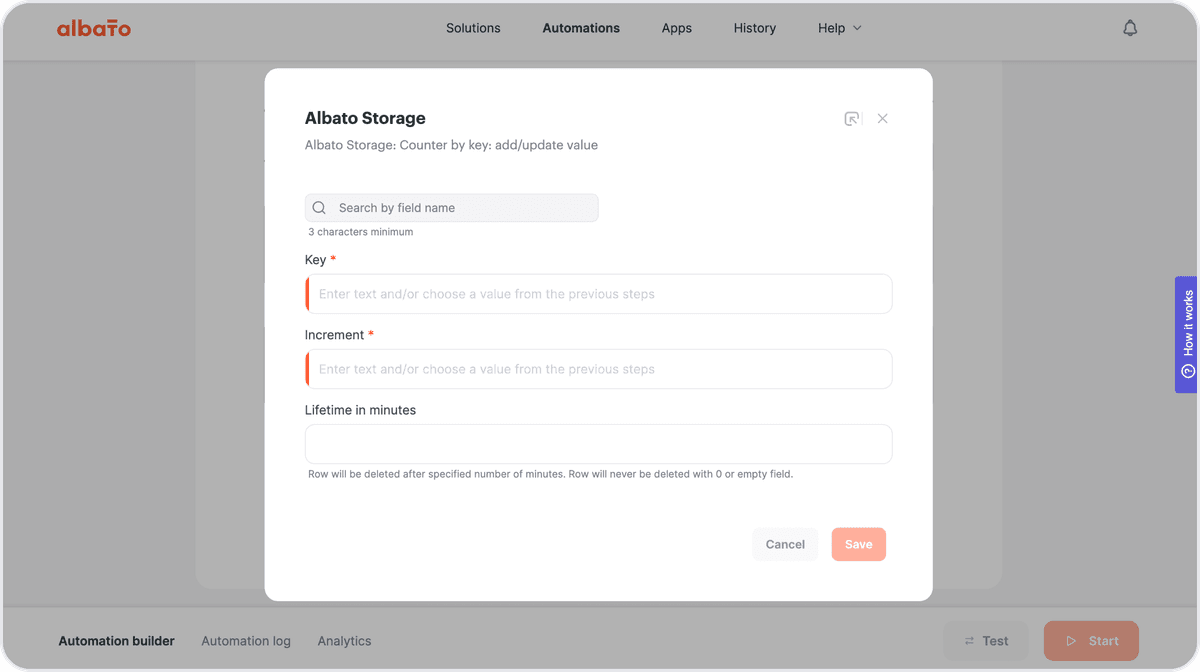
Counter by key actions maintain a counter for a key rather than creating a row with variable fields. You can add or increment a counter by 1, retrieve its current value, or clear it.
Available Triggers
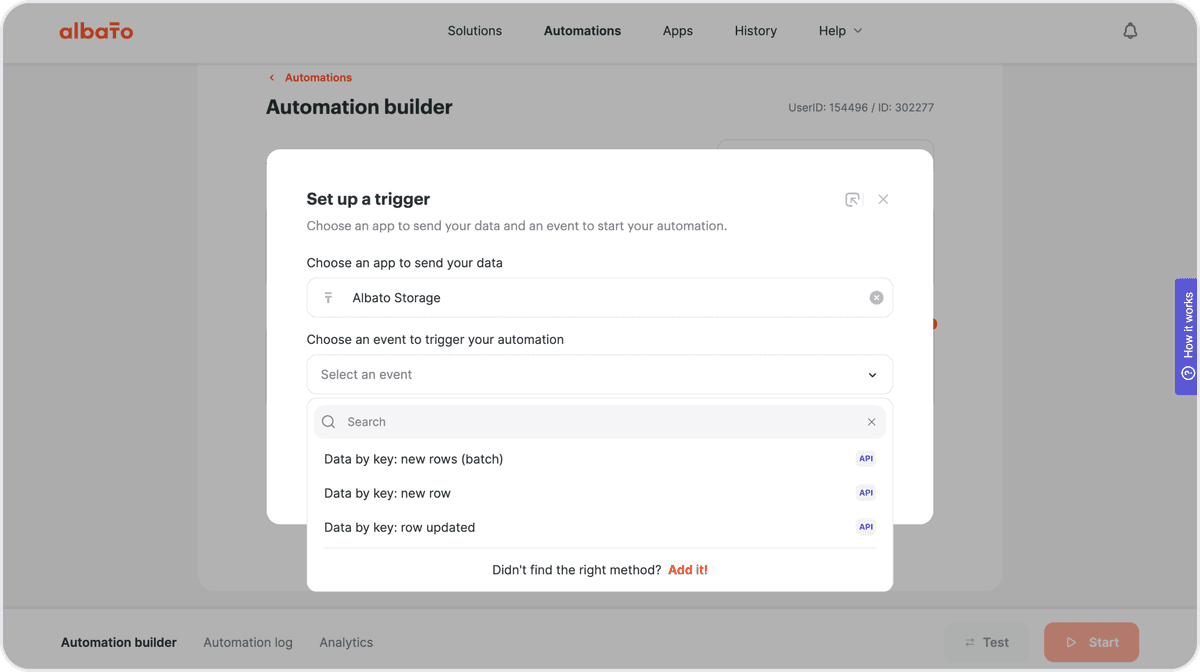
Choose when the automation should start and whether it should process records individually or in batches.
- New rows (batch) collects new records and passes them as a row section. Use it for bulk transfers, such as the data aggregation example below.
- New row starts an automation when a new record is created in the storage.
- Row updated starts an automation when an existing record is updated.
Use Cases
Match Records Across CRM Systems
When a deal has different IDs in two CRM systems, save the pair in Data Storage. Use the first CRM's deal ID as the key and the second CRM's ID as a variable. An update automation can then look up the saved ID to find the matching deal in the second CRM.
To also keep the deal's status and update date, define these three variables. The deal ID remains the record key.
- status holds the deal's status.
- dateUpdate holds its update date.
- externalCrmId holds its ID in the second CRM.

Enter the variables in the connection settings as shown below.
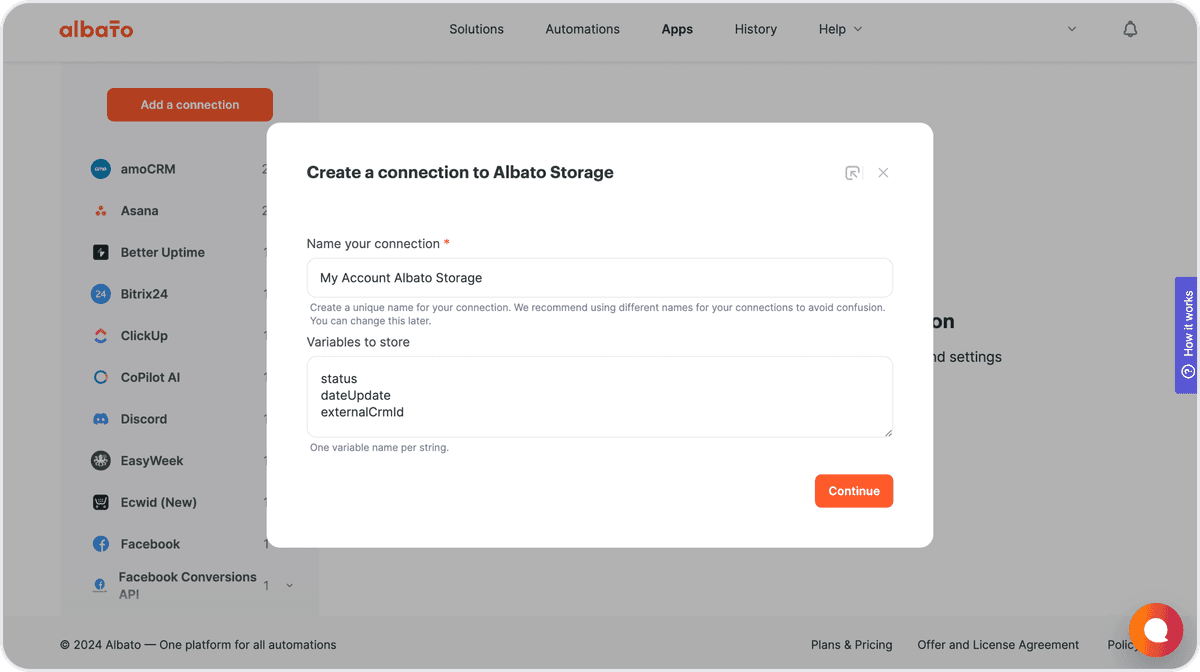
The variables become available as fields when you configure actions in an automation.
You can return to the connection settings to add, remove, or edit variables.
Important: Renaming a variable changes its field code and breaks its mappings in previously configured automations. Review and update those mappings after renaming a variable.
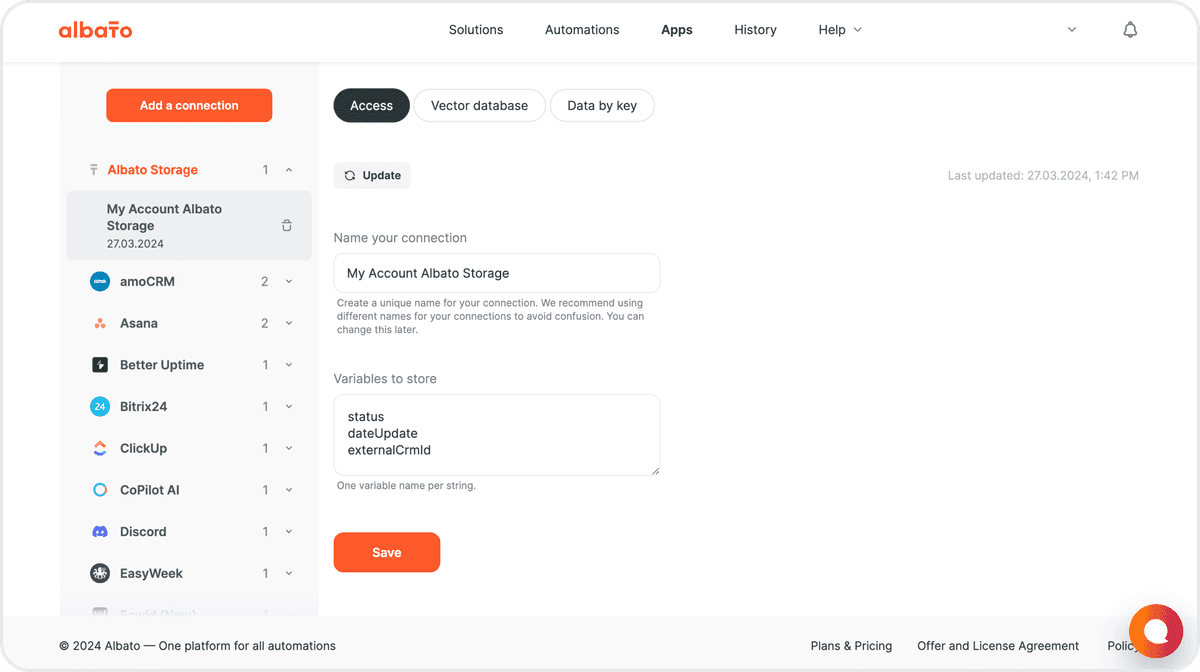
Open the configured connection to view saved records in the Data by key tab.
Collect Data for Batch Transfers
When a destination needs contact data in batches, use Data Storage as an intermediate store. One automation saves new and updated CRM records; another exports the accumulated records once a day. This separates collection from delivery so you can account for the destination's requirements and limits.
Use Data Storage as an Alternative to Table Lookup
Use a saved mapping table to match statuses or other values between CRM systems.
For example, New Deal in CRM 1 might have ID 123, while the corresponding status in CRM 2 has ID 456. Save this mapping once in Data Storage and reuse it across automations. A separate automation can add new mappings or update existing ones.
For a comparison, see the Table Lookup instruction.
Sync Contacts Between HubSpot and Salesforce
Before You Start
- Connect HubSpot and Salesforce to Albato.
- Create a Data Storage connection with an externalCrmId variable, following the setup above.
This example uses two automations. The first creates Salesforce contacts from new HubSpot contacts and saves their IDs. The second updates those Salesforce contacts when the HubSpot records change. The same pattern can be used for other records, such as deals.
Create Contacts and Save Their IDs
- Configure HubSpot as the trigger for new contacts and Salesforce as the action that creates a contact.
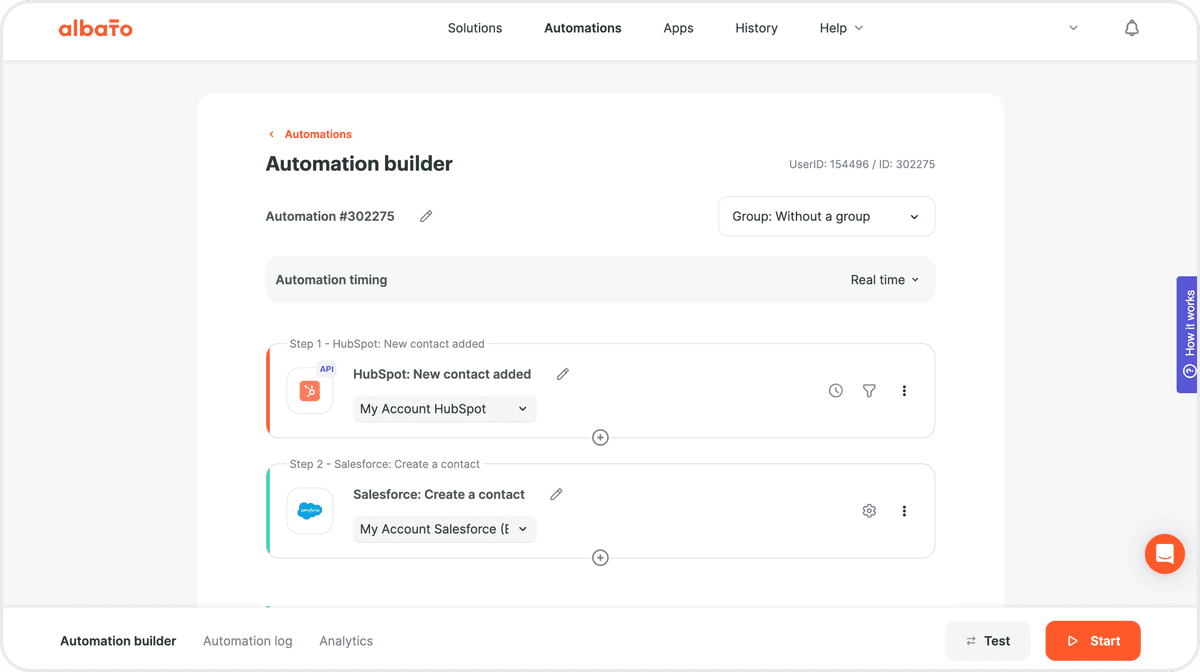
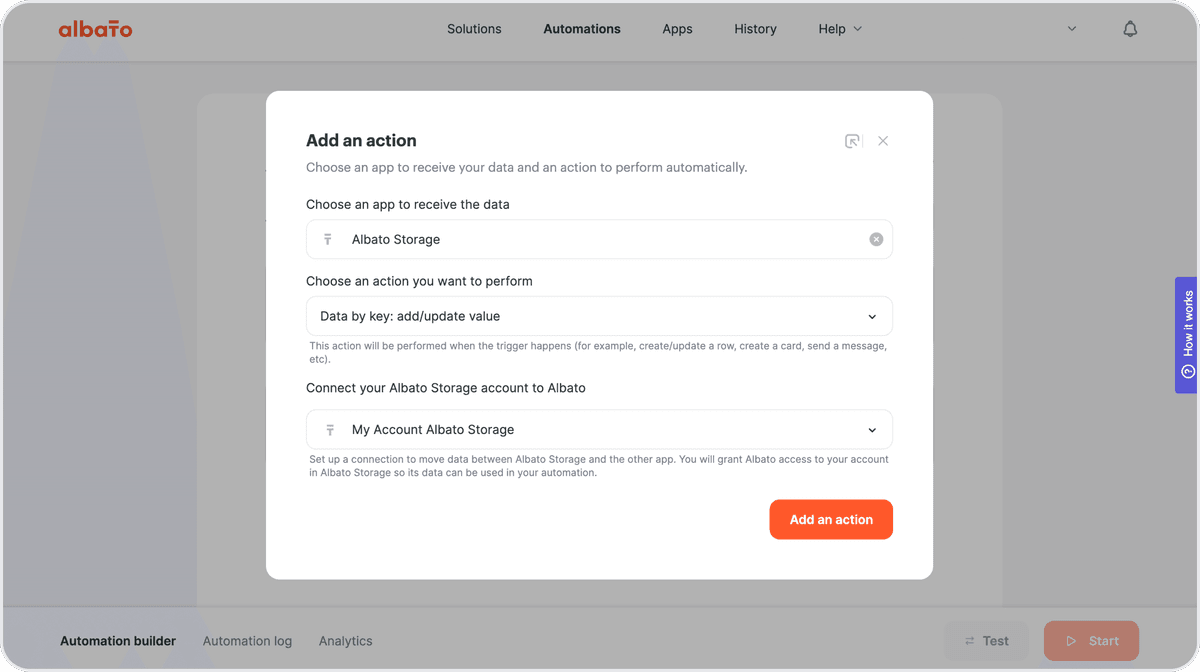
- Add Albato Data Storage and select Data by key: add/update value.
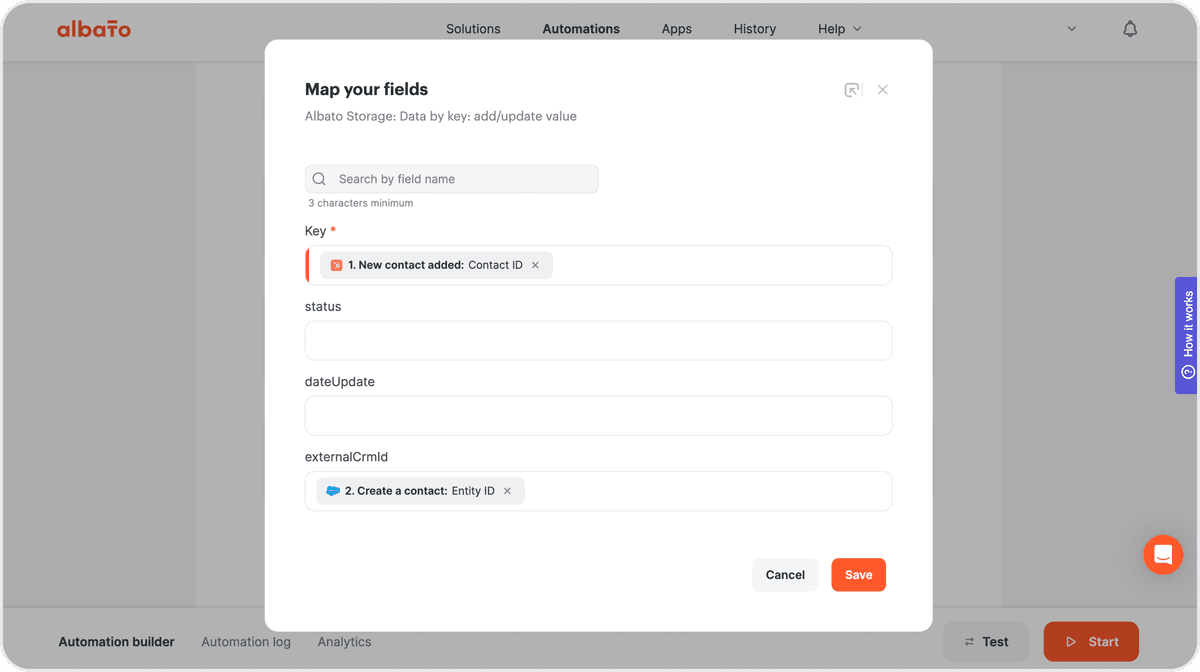
Map the Two Contact IDs
- Key: select the contact ID from the HubSpot trigger.
- externalCrmId: select the contact ID returned by the Salesforce action.
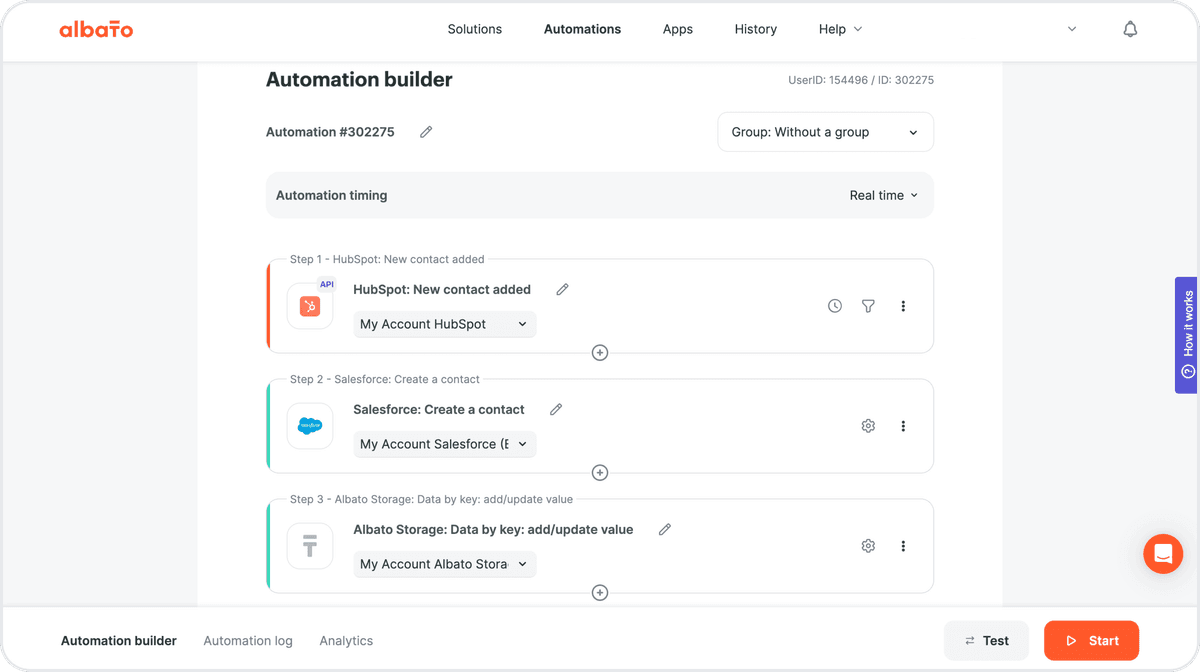
The completed automation has three steps.
Update the Matching Contacts
Create a separate automation for contact updates.
- Add a HubSpot trigger that retrieves contact updates.
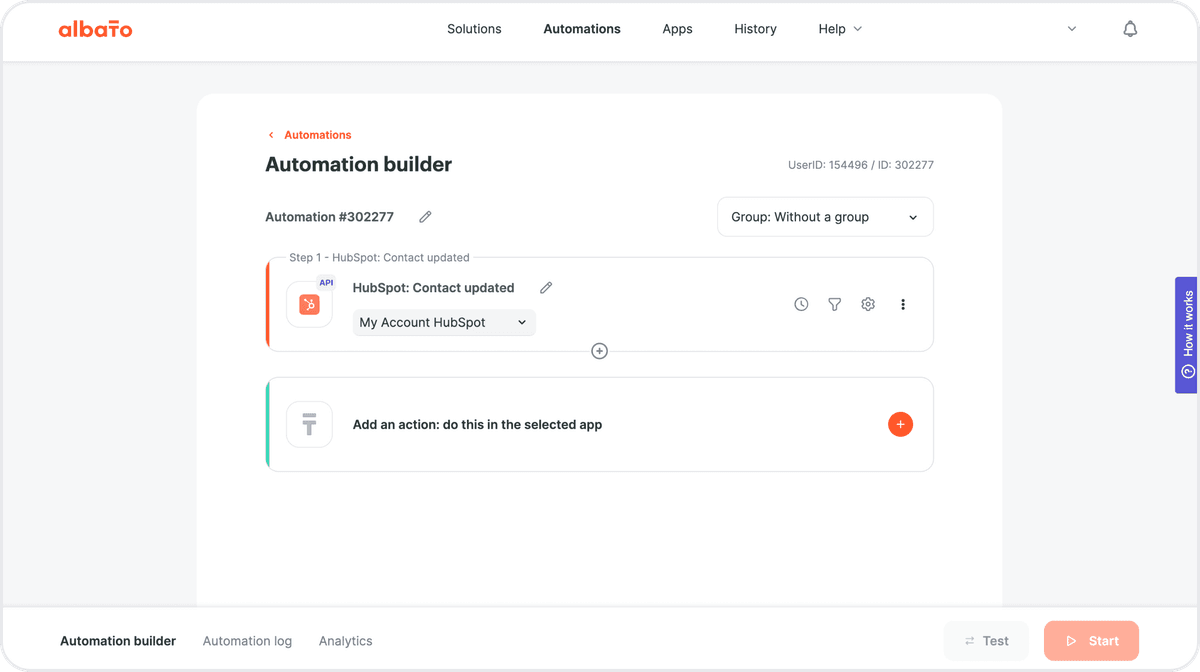
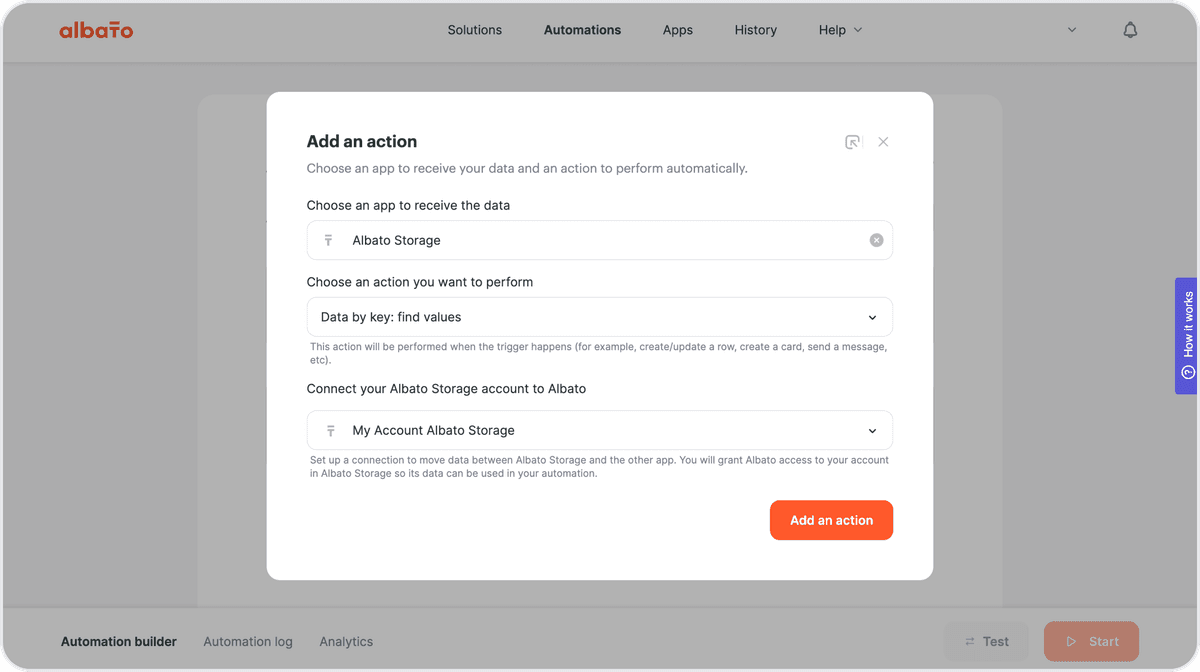
- Add Albato Data Storage and select Data by key: find values.
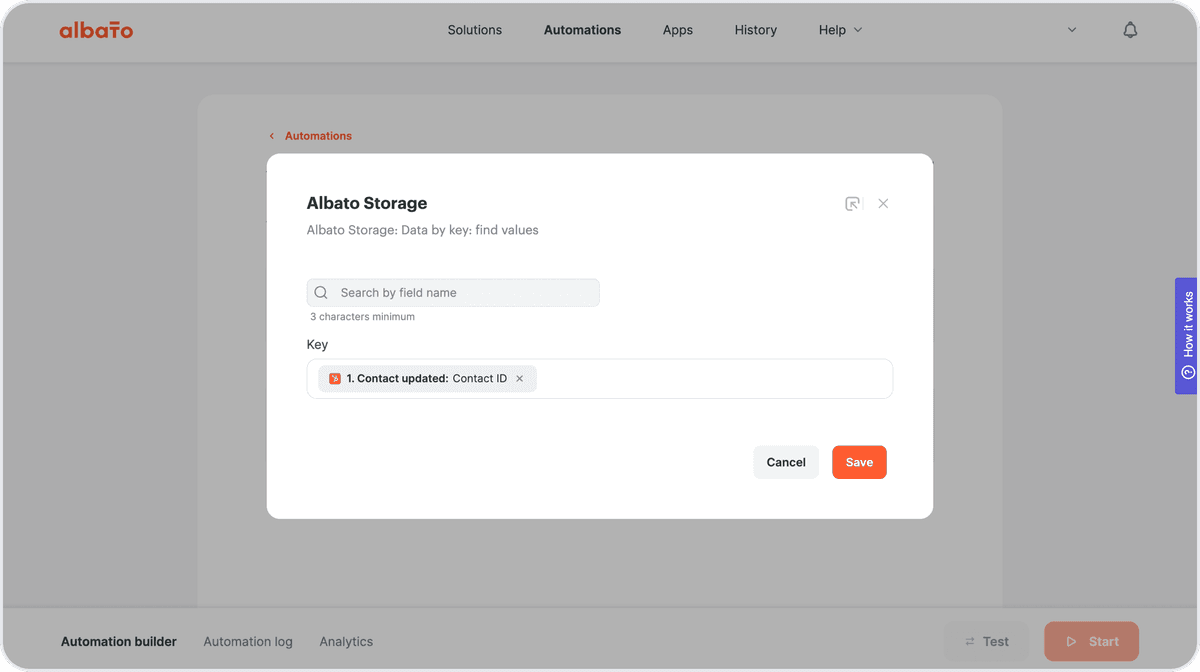
In Key, select the contact ID from HubSpot. This identifies the saved record to retrieve.
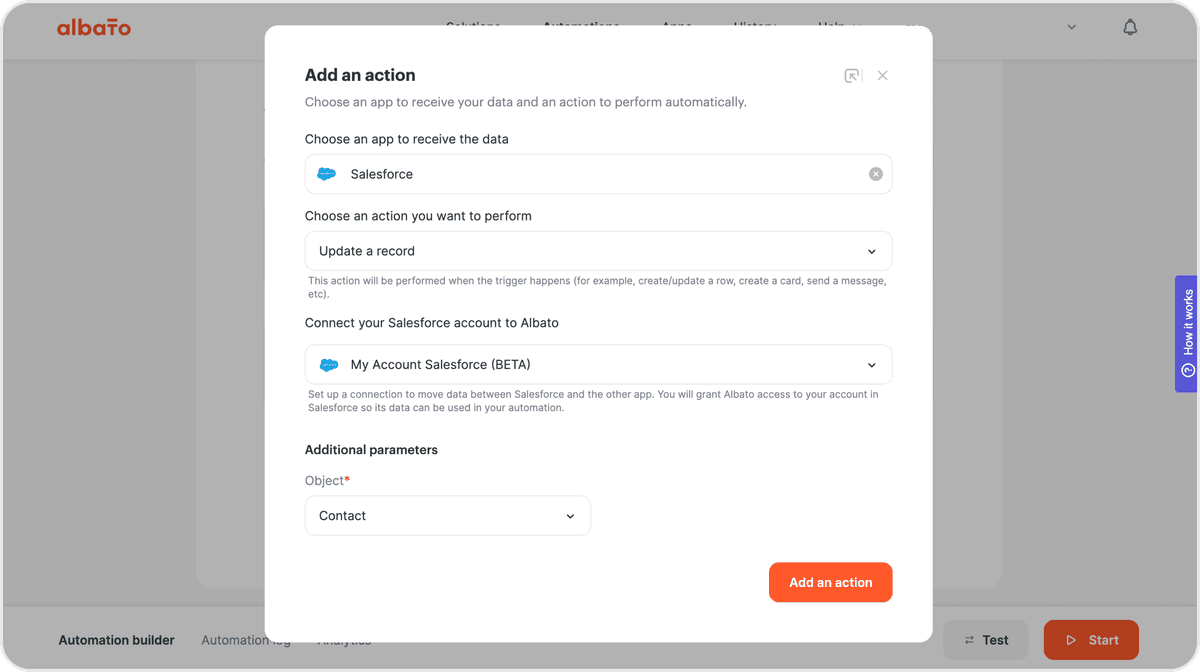
- Add Salesforce and select Update a record.
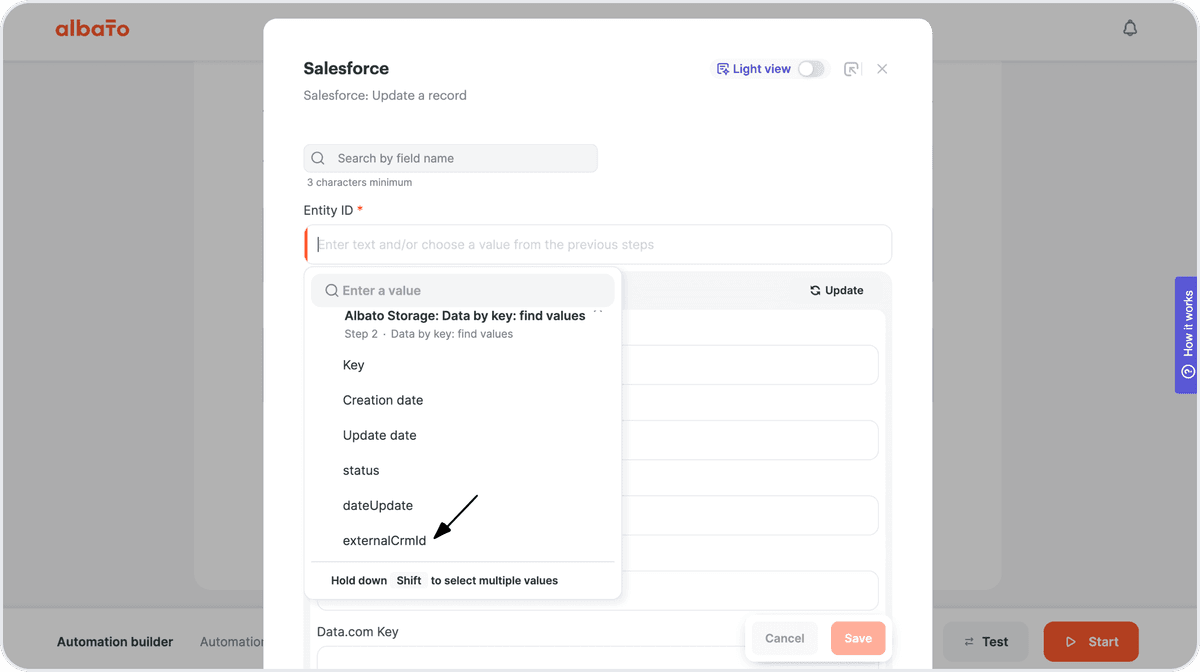
In Entity ID, select externalCrmId from the Data Storage step.
Map the remaining fields you want to update in Salesforce.
Optional: Route New and Existing Contacts
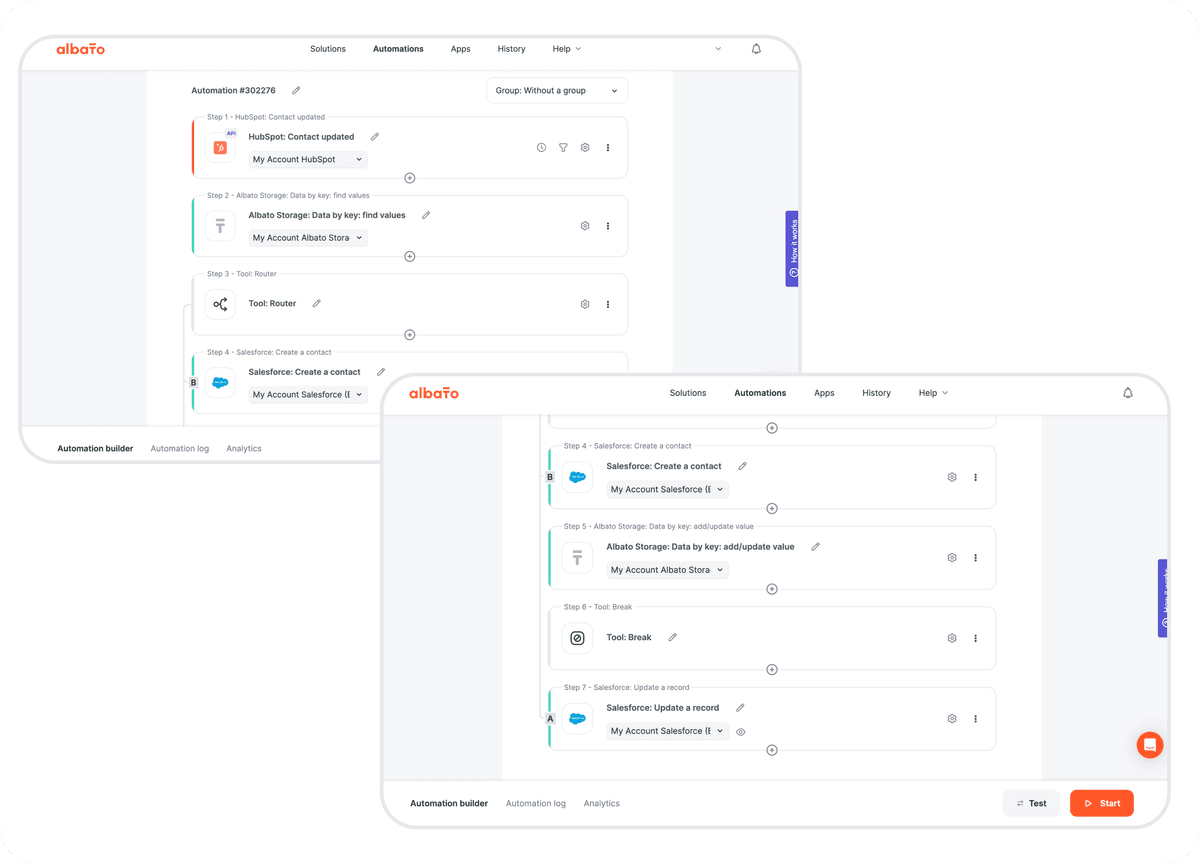
Add the Router tool to the update automation if you need different paths for contacts with and without a saved Salesforce ID.
- externalCrmId is empty: create a Salesforce contact.
- externalCrmId has a value: continue to the update action.
The following diagram shows this optional routing pattern.
Related Articles
Did this answer your question?